# Combell webhosting
TODO
- Update all browser screenshots after adding the "Shop page" and "Authentication page"
TIP
As a student of Thomas More, you are entitled to free web hosting and a free .be domain name at combell.com (opens new window)
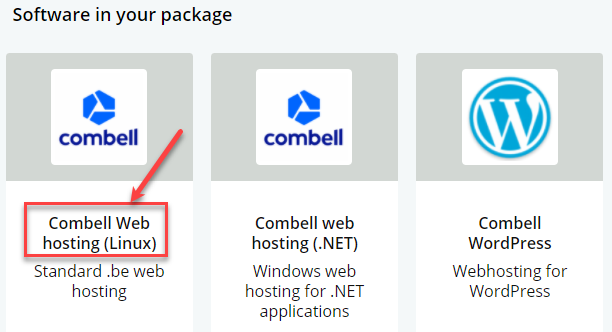
- Login at https://www.academicsoftware.eu/ (opens new window) and select Combell Web hosting ( Linux)
- Request a License and follow the instructions on the page
(IMPORTANT: only .be domain names are free!)
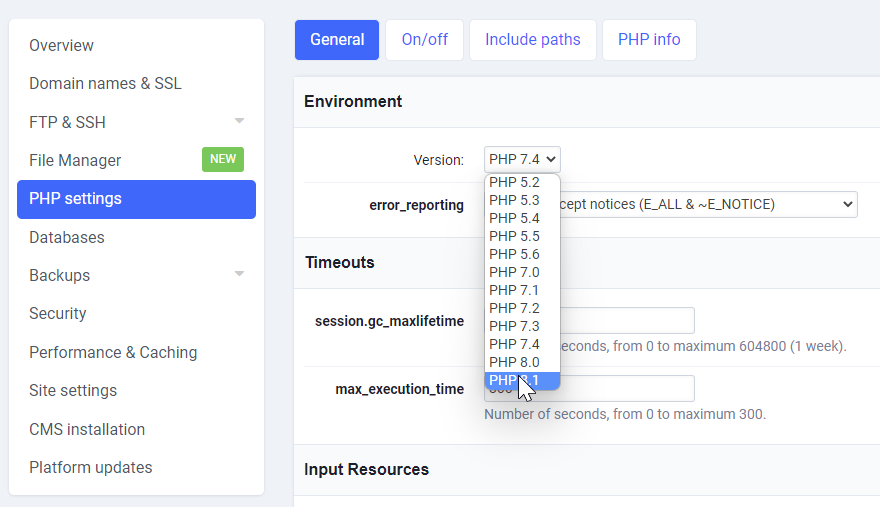
# Update PHP settings
- Login to your Combell dashboard: https://my.combell.com/ (opens new window)
- Click on Manage website
- Click on PHP settings
- General: select the same PHP version as the PHP version on your local environment (PHP 8.1)
- On/off: the default settings are ok, but if your project requires some extra extensions, you can enable them
here
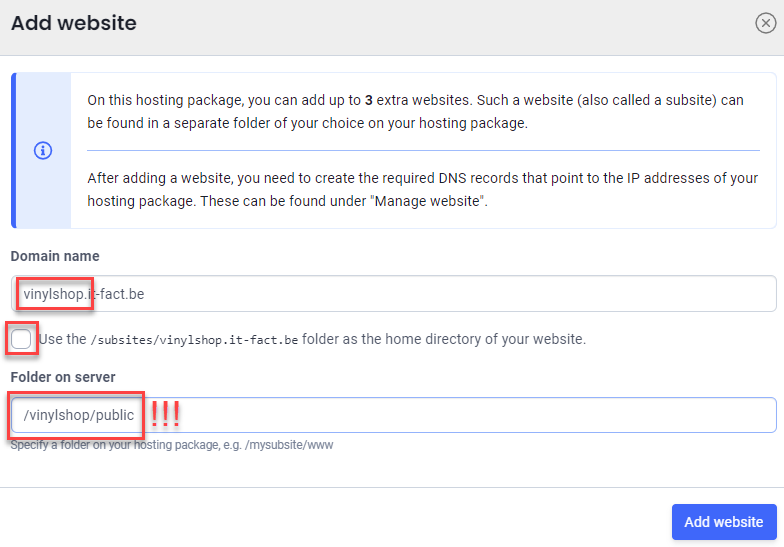
# Add a subdomain
- Create a new subdomain for your Laravel site, e.g. https://vinylshop.yourDomain.be (replace
yourDomain.bewith your real domain name)
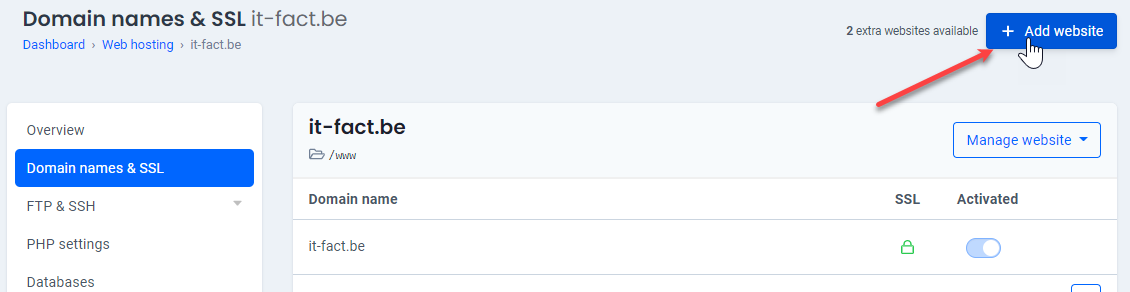
- Domain name:
vinylshop.yourDomain.be - Uncheck: Use the
/subsites/vinylshop.yourDomain.befolder as the home directory of your website - Folder on the server:
/vinylshop/public
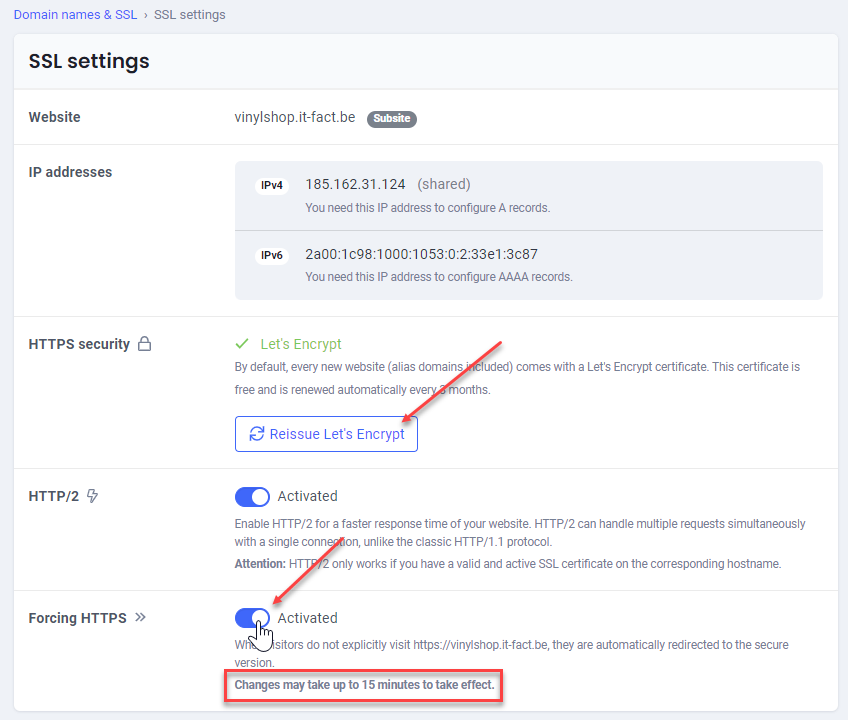
- Update your SSL settings
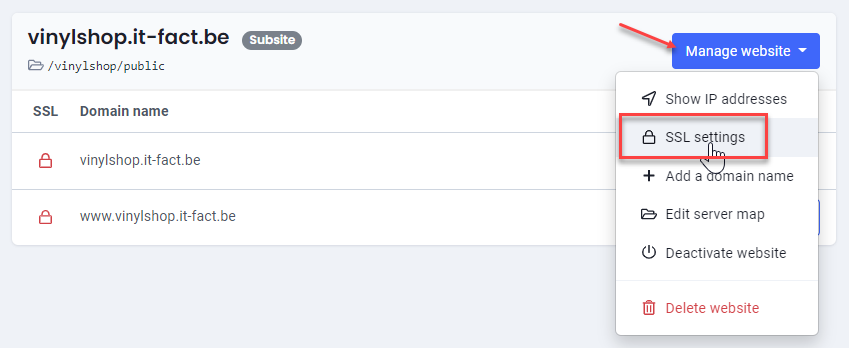
- Click on the button Enable Lrt's Encrypt and then activate Forcing HTTPS
# Put your website online
# Compile your assets for production
- The assets app.css and app.js are not production ready and should be minified/optimized using the
command
npm run build.
See also Config -> Laravel Vite -> Compile for production.
# Upload the files to your hosting
TIP
- Combell supports both FTP (insecure) and SSH (secure) connections
- If possible, choose the SFTP protocol and use the data that you can find in your dashboard under SSH
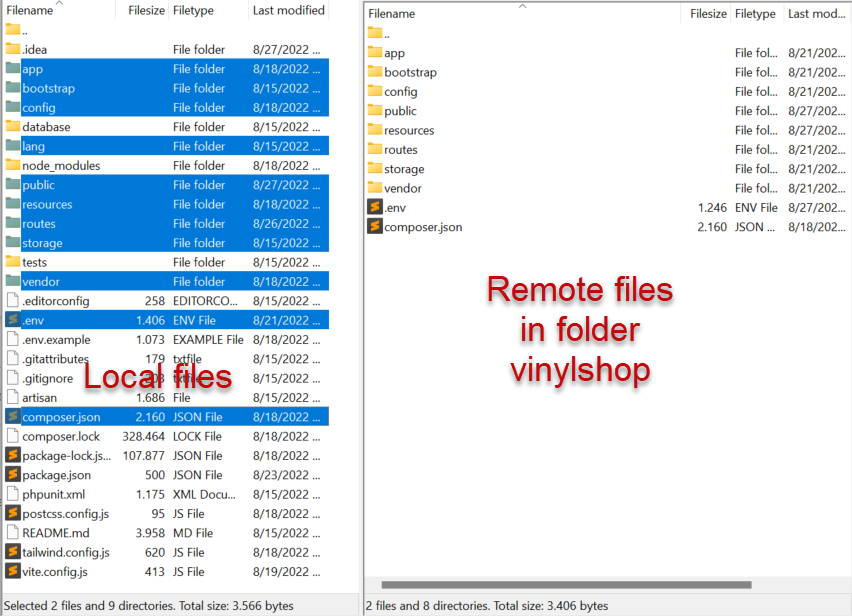
- The screenshot below shows the settings in FileZilla
(Password is the password of your primary FTP user)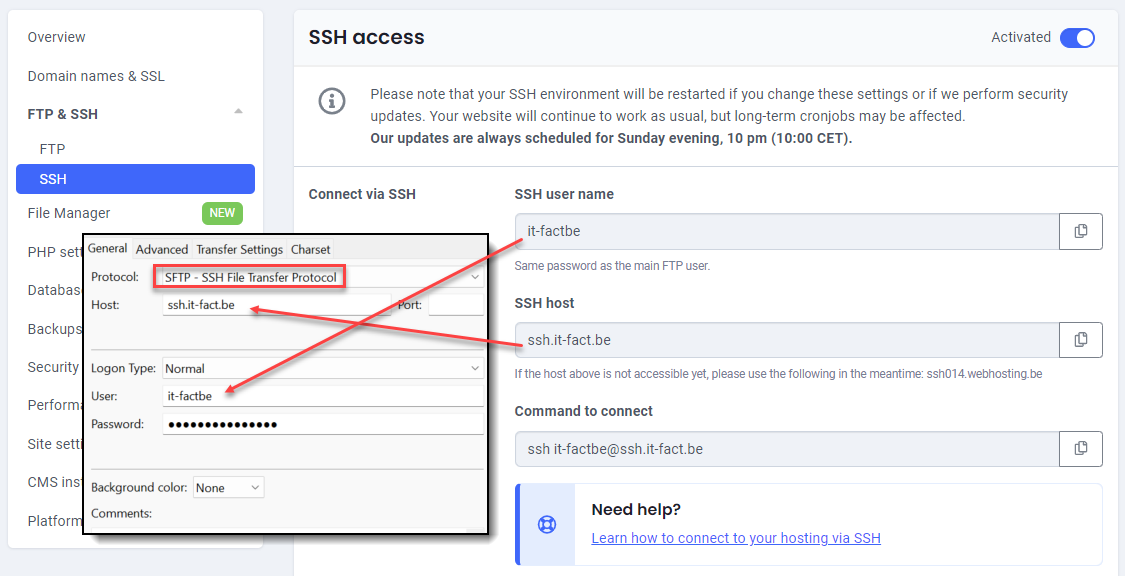
- Connect to your hosting and browse to the vinylshop folder (this folder contains only the public subfolder)
- Upload all folders, except .git, .idea, database, node_modules and tests
- Upload only the files .env and composer.json
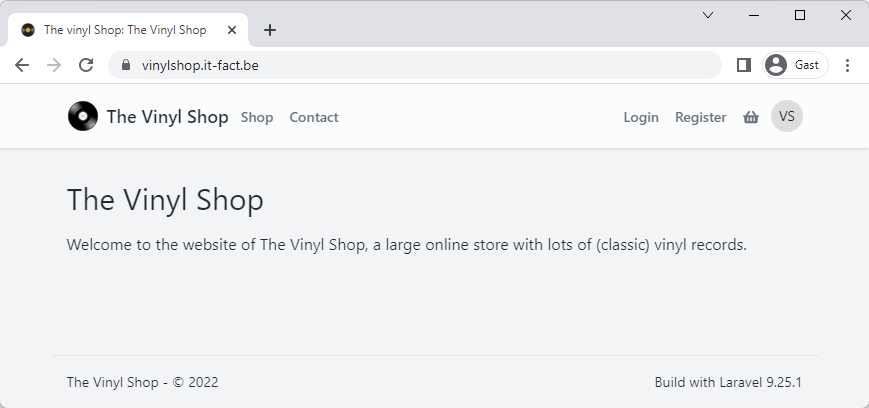
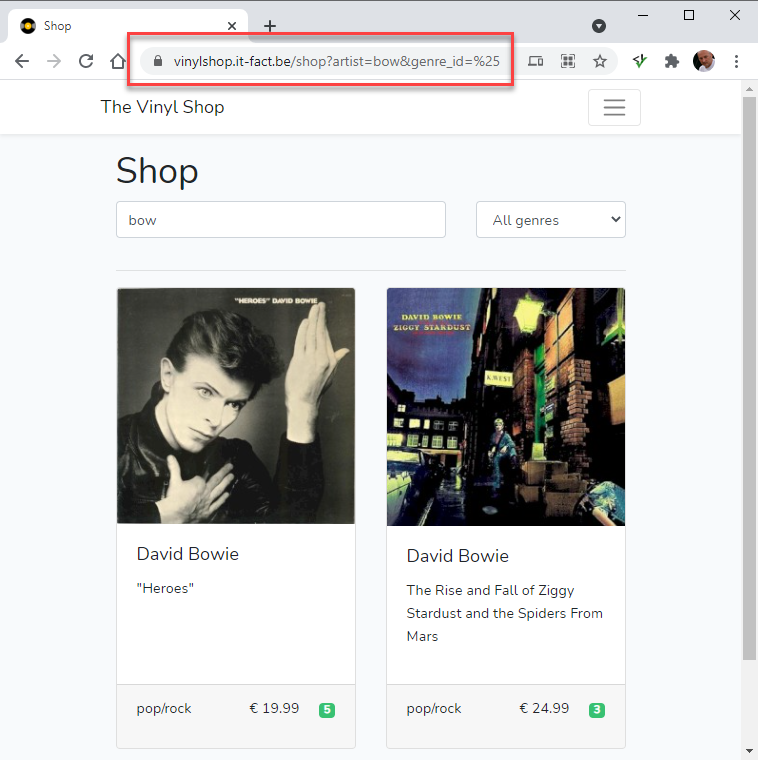
- Test the homepage of your online application (https://vinylshop.yourDomain.be/)
# Update the remote .env file
- Update the REMOTE (not the local!) .env file
APP_NAME="The Vinyl Shop"
APP_ENV=production # change from local to production
APP_KEY=base64:e77jPGGcqZ4sNADHI5f/icC+LFnBw34hpRJKSf2ftnI=
APP_DEBUG=false # change from true to false
APP_URL=https://vinylshop.yourDomain.be
2
3
4
5
- By setting
APP_DEBUG=false, visitors will get a 500 | Server Error (instead of detailed error information) if something goes wrong
TIP
Set the variable APP_DEBUG TEMPORARILY to true if you need to solve errors in your production environment (as then
more info on the errors will be shown, just as in your local development environment)
# Transfer the vinylshop database
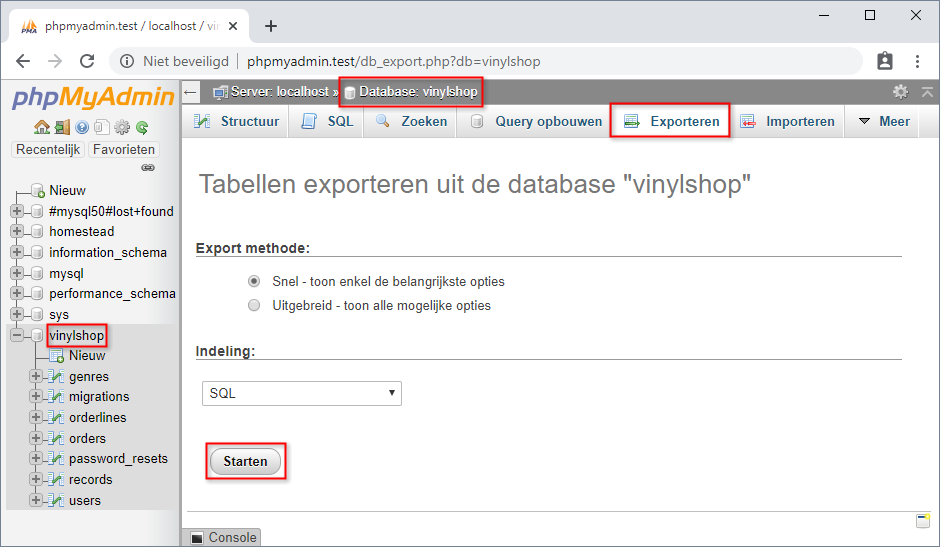
- Open http://phpmyadmin.test/ (opens new window) (
or http://homestead.test/phpmyadmin/ (opens new window))
- Click on the vinylshop database, go to the tab "Exporteren" and click on "Starten"
- Save the file vinylshop.sql to your desktop
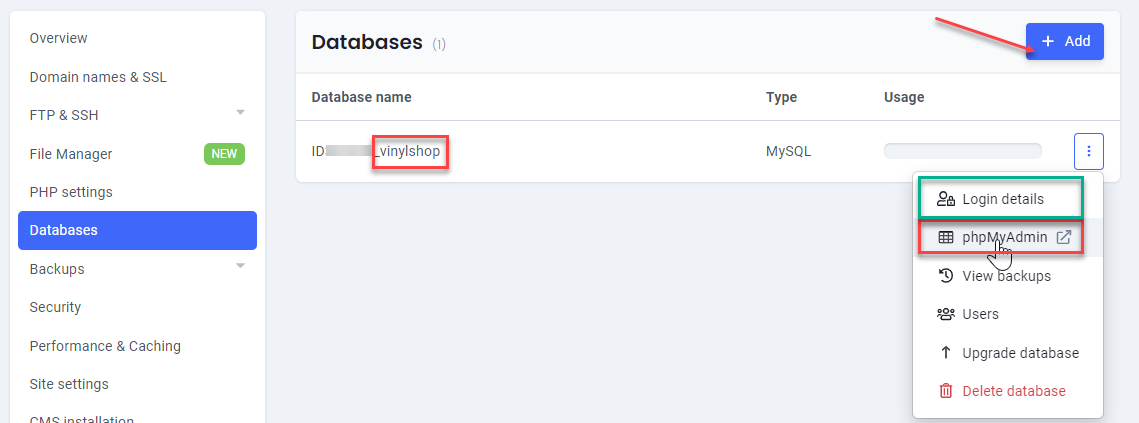
- Create a new database on your hosting, e.g. vinylshop (the prefix is automatically added)
- Open your remote phpMyAdmin
- "Importeer" (= the tab next to "Exporteren") vinylshop.sql (in your newly created database on your
remote phpMyAdmin)
- Open the REMOTE .env file and update all
DB_...variables- The values of the
DB_...variables can be found at the databases tab of dashboard under Login details
- The values of the
DB_CONNECTION=mysql
DB_HOST=IDxxxxxx_vinylshop.db.webhosting.be
DB_PORT=3306 # NOT port 33060 like in Homestead!
DB_DATABASE=IDxxxxxx_vinylshop
DB_USERNAME=IDxxxxxx_vinylshop
DB_PASSWORD=xxxxx # password was set while creating the database
2
3
4
5
6
# Create a symlink for the covers
- Open you local web.php file and add a route to create a symlink
Route::get('/symlink', function () {
Artisan::call('storage:link');
});
2
3
- Upload web.php to your hosting
- Open the route vinylshop.yourDomain.be/symlink in your browser
(You only see a blank page, but the symlink will be created) - Remove the route from web.php and upload web.php to your hosting
- Open one of the pages relying on the database (e.g. the shop master page) to test the remote database connection and the symlink
# Configure a real mail server
TIP
- From now on it's best to use REAL mail addresses (to send your mail from), as fake sender mail addresses (like _ @example.com_ or @mailinator.com) will probably show up in your spam folder
- Your application (contact page, reset password page) needs a real outgoing mail server (SMTP server) to send out the emails
- Go to https://my.combell.com/en/product/email (opens new window)
- Add a new mailbox, e.g.
admin@yourDomain.be

- Open the REMOTE .env file and update all
MAIL_...variables- The values of the
MAIL_...variables can be found at just created mailbox
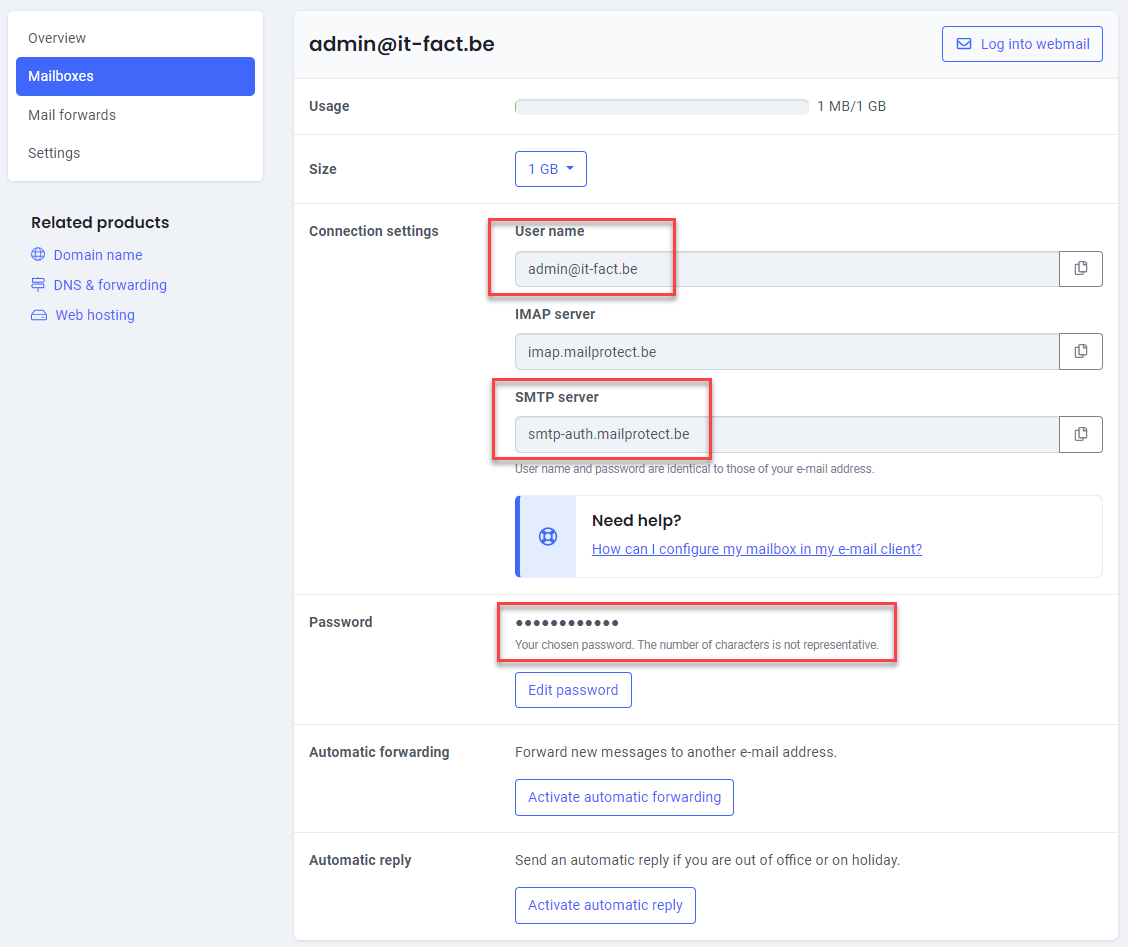
- The values of the
MAIL_MAILER=smtp
MAIL_HOST=smtp-auth.mailprotect.be
MAIL_PORT=465 # change form 1025 to 465
MAIL_USERNAME=admin@yourDomain.be # your email address
MAIL_PASSWORD=xxxxx # your email password
MAIL_ENCRYPTION=ssl # change from null to ssl
MAIL_FROM_ADDRESS=admin@yourDomain.be # your email address
MAIL_FROM_NAME="${APP_NAME}"
2
3
4
5
6
7
8
WARNING
If you have not already done so, add a new user with a REAL email address (your Thomas More mail address, Gmail, Hotmail, etc.) to the users table of your remote database
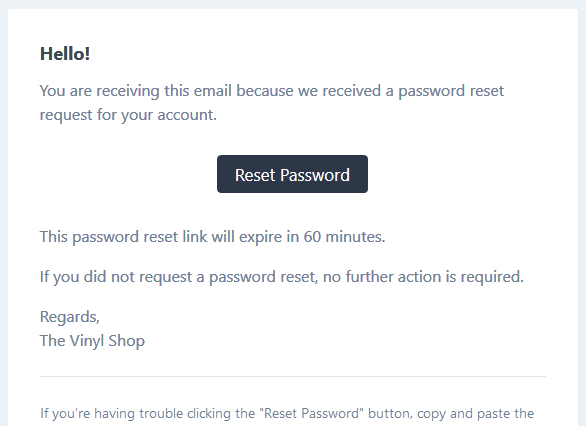
- Try to reset the password for your real mail address
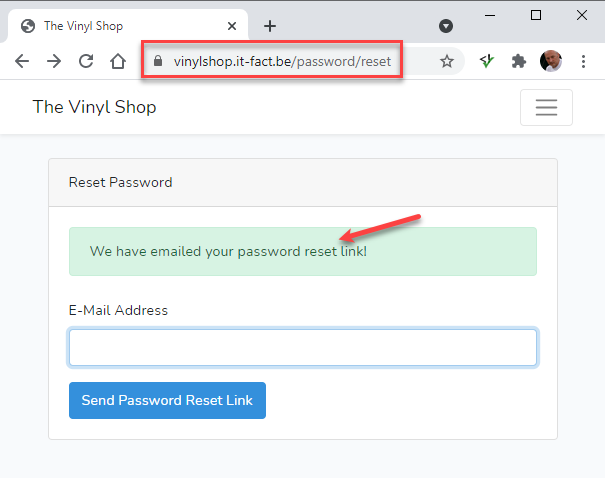
- Check your mailbox
TIP
- You can set your primary mailbox as a catch-all mailbox (opens new window) (so that all emails sent to your domain will be forwarded to your primary mailbox)
# Updates and maintenance
- A Laravel application is a never ending story ...
- When you delete a local file, don't forget to delete the file from your remote host as well
- When you add/update a file like a controller, middleware, web routes, ... you can upload them individually to your remote host
- When you update your composer packages (with
composer update), it's best to delete the whole external _ vendor_ folder and upload it again - When you add/update resources/js/app.js, resources/css/app.css or files in resources/views/ folder, read the IMPORTANT NOTE below!
IMPORTANT
When you add/update resources/js/app.js, resources/css/app.css or files in the resources/views/ folder:
- Stop the development server
- Rebuild the assets (run
npm run build) for production - Delete the folder public/build and on the remote server
- Upload the new public/build to the remote server
- Upload the resources/views/layouts/vinylshop.blade.php to the remote server
(the links to the files in the build folder are updated!) - Upload the added/updated files in the resources/views folder to the remote server
- IMPORTANT: if the file public/hot exists on the remote server, delete it!!!
- Restart the development server
# More about the hot-file
- When running in development mode (
npm run dev) on your local machine, the public/hot-file is automatically created and contains an IP address of the localhost (e.g.http://127.0.0.1:5173)- Now look at the source code of one of the files in the browser
- All scripts and stylesheets are loaded from this IP address
<head>
    <meta charset="UTF-8">
    ...
    <script type="module" src="http://127.0.0.1:5173/@vite/client"></script>
    <link rel="stylesheet" href="http://127.0.0.1:5173/resources/css/app.css"/>
    <script type="module" src="http://127.0.0.1:5173/resources/js/app.js"></script>
</head>
2
3
4
5
6
7
- When running the production script (
npm run build), the public/hot-file will be removed- Now look again at the source code of the file in the browser
- All scripts and stylesheets are loaded from the URL (
vinyl_shop.test) and de stylesheet and JavaScript files are minified
(The hashes9d96761fandab93cf8ain the filename changes every time the script runs)
<head>
    <meta charset="UTF-8">
    ...
    <link rel="stylesheet" href="https://vinyl_shop.test/build/assets/app.9d96761f.css" />
    <script type="module" src="https://vinyl_shop.test/build/assets/app.ab93cf8a.js"></script>
</head>
2
3
4
5
6
REMARK
That's the reason why you should delete the public/hot file on the remote server and upload the new public/build folder
whenever you run npm run build and publish the update to the remote server.
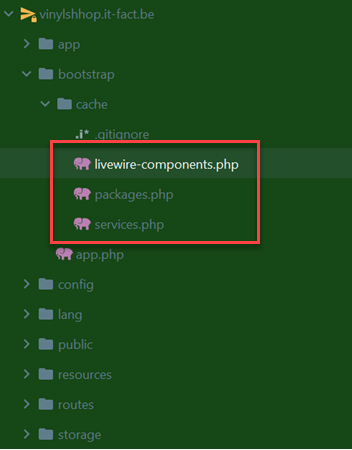
# Caching problems
- When you update your application, you may have some caching problems like the old version of a file is still loaded
- To solve this problem, you have to delete the cache on the remote server
- Open the folder bootstrap/cache on the remote server
- Delete all files in this folder
- DON'T delete the folder bootstrap/cache itself!