# Layout component
- A Layout component (opens new window) is a simple, yet powerful Blade engine to maintain the same general layout across various pages
- Blade is Laravels rendering engine to parse HTML and PHP to the view
- Blade adds no overhead to your application: all Blade views are compiled into plain PHP code and cached until they are modified
- Blade view files use the .blade.php file extension and are stored in the resources/views folder
WARNING
In Laravel, there are two ways to create a layout:
- Component based layouts: this is the method we discuss in this course
- Template inheritance based layouts: this was the primary way of building applications prior to the introduction of components in Laravel 7.x
- Since most web applications maintain the same layout across various pages, it's convenient to define this layout as a single Blade file
- The layout component or "master page" consists of:
- regular HTML code that is common to all pages (header, footer, navigation, ...)
- one or more slots or "gaps" which can be filled in separately for each page
- one or more stacks that allow you to push data to, which can be rendered somewhere else in another view or layout
WARNING
- Within the app/View/Components/ folder, you already see two classes:
- AppLayout.php renders the app.blade.php component
- GuestLayout.php renders the guest.blade.php component
- The components itself are inside the resources/views/layouts/ folder:
- app.blade.php is the layout Jetstream uses for logged-in users
- guest.blade.php a very basic layout for non-logged-in users (guest users)
- We are now creating a third, universal, layout component that will be used by all our pages (logged-in or not)
# Create a new layout component
- Create a new component with
php artisan make:component VinylshopLayout - This command created two files:
- A component class in app/View/Components/VinylshopLayout.php
- A Blade file in resources/views/components/vinylshop-layout.blade.php
- Move vinylshop-layout.blade.php from the components folder to the layouts folder and rename it to vinylshop.blade.php
- Open app/View/Components/VinylshopLayout.php and update the path inside the render methode
(from'components.vinylshop-layout'to'layouts.vinylshop')
<?php

namespace App\View\Components;

use Illuminate\View\Component;

class VinylshopLayout extends Component
{
    ...
    public function render()
    {
        return view('layouts.vinylshop');
    }
}
1
2
3
4
5
6
7
8
9
10
11
12
13
14
2
3
4
5
6
7
8
9
10
11
12
13
14
# vinylshop.blade.php
# Common code
- For the layout we choose Tailwind CSS (opens new window) for styling and Alpine.js (opens new window) for interactivity:
you can keep it simple for now and link the necessary CSS and JavaScript files via CDN - Replace the code in vinylshop.blade.php with this code:
<!doctype html>
<html lang="en">
<head>
    <meta charset="UTF-8">
    <meta name="viewport" content="width=device-width, initial-scale=1.0">
    <script src="https://cdn.tailwindcss.com"></script>
    <script src="https://unpkg.com/alpinejs" defer></script>
    <meta name="description" content="Welcome to the Vinyl Shop">
    <title>The vinyl Shop</title>
</head>
<body class="font-sans antialiased">
<div class="flex flex-col space-y-4 min-h-screen text-gray-800 bg-gray-100">
    <header class="shadow bg-white/70 sticky inset-0 backdrop-blur-sm z-10">
        {{--  Navigation  --}}
        <nav class="container mx-auto p-4 flex justify-between items-center">
            <a href="{{ route('home') }}" class="underline">Home</a>
            <a href="{{ route('contact') }}" class="underline">Contact</a>
            <a href="{{ route('admin.records.index') }}" class="underline">Records</a>
        </nav>
    </header>
    <main class="container mx-auto p-4 flex-1 px-4">
        {{-- Title --}}
        <h1 class="text-3xl mb-4">

        </h1>
        {{-- Main content --}}

    </main>
    <footer class="container mx-auto p-4 text-sm border-t flex justify-between items-center">
        <div>The Vinyl Shop - © {{ date('Y') }}</div>
        <div>Build with Laravel {{ app()->version() }}</div>
    </footer>
</div>
</body>
</html>
1
2
3
4
5
6
7
8
9
10
11
12
13
14
15
16
17
18
19
20
21
22
23
24
25
26
27
28
29
30
31
32
33
34
35
2
3
4
5
6
7
8
9
10
11
12
13
14
15
16
17
18
19
20
21
22
23
24
25
26
27
28
29
30
31
32
33
34
35
REMARKS
- You can add comments in Blade by putting them between
{{--and--}} - These Blade comments are not included in the rendered HTML
- In PhpStorm you can use the shortcuts
Ctrl+/(single comment line) orCtrl+Shift+/(multiple comment lines)
# Slot
- For now, we create four slots in the layout:
- One default slot (
{{ $slot }}) for the content of the page (line 27) - A named slot (
{{ $description }}) for the description meta tag (line 8) - A named slot (
{{ $title }}) for the main heading (line 24) and as part of the page title (line 9)
- One default slot (
WARNING
Use the ternary operator to give EVERY NAMED SLOT a default value:
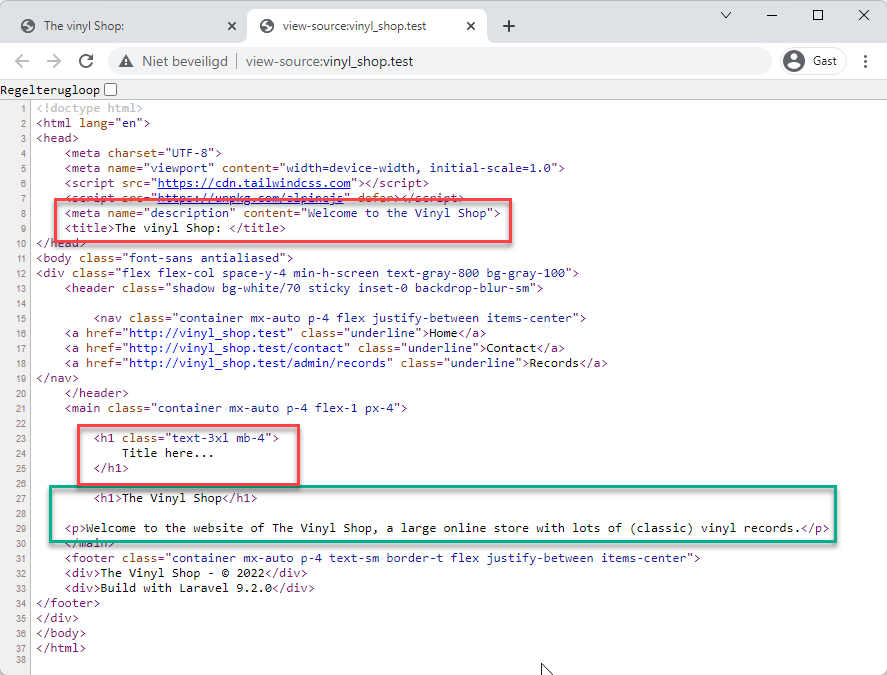
- Line 8:
{{ $description ?? 'Welcome to the Vinyl Shop' }} - Line 9:
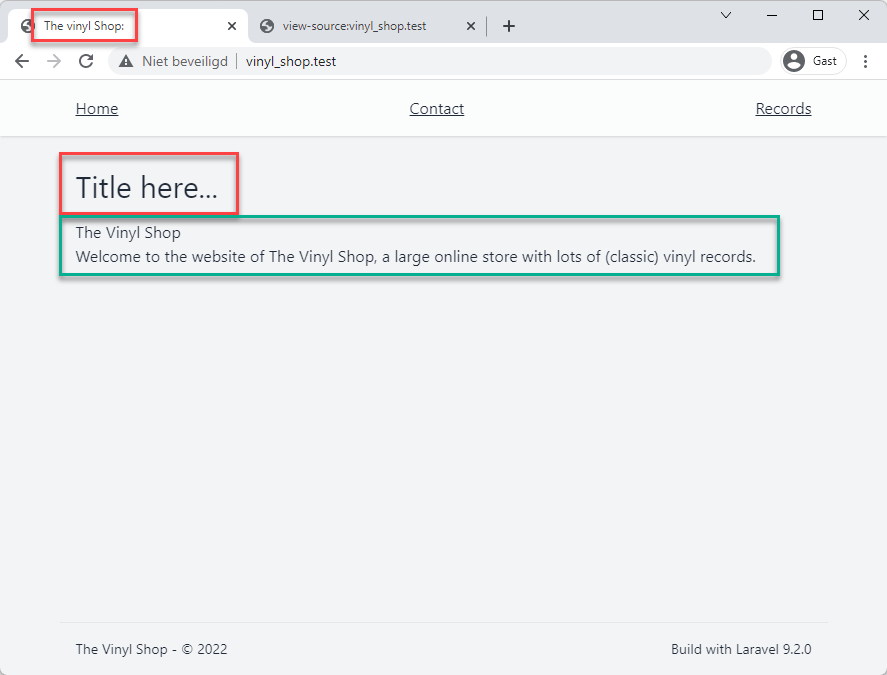
{{ $title ?? '' }} - Line 24:
{{ $title ?? 'Title here...'}}
<!doctype html>
<html lang="en">
<head>
    <meta charset="UTF-8">
    <meta name="viewport" content="width=device-width, initial-scale=1.0">
    <script src="https://cdn.tailwindcss.com"></script>
    <script src="https://unpkg.com/alpinejs" defer></script>
    <meta name="description" content="{{ $description ?? 'Welcome to the Vinyl Shop' }}">
    <title>The vinyl Shop: {{ $title ?? '' }}</title>
</head>
<body class="font-sans antialiased">
<div class="flex flex-col space-y-4 min-h-screen text-gray-800 bg-gray-100">
    <header class="shadow bg-white/70 sticky inset-0 backdrop-blur-sm z-10">
        {{--  Navigation  --}}
        <nav class="container mx-auto p-4 flex justify-between items-center">
            <a href="{{ route('home') }}" class="underline">Home</a>
            <a href="{{ route('contact') }}" class="underline">Contact</a>
            <a href="{{ route('admin.records.index') }}" class="underline">Records</a>
        </nav>
    </header>
    <main class="container mx-auto p-4 flex-1 px-4">
        {{-- Title --}}
        <h1 class="text-3xl mb-4">
            {{ $title ?? 'Title here...' }}
        </h1>
        {{-- Main content --}}
        {{ $slot }}
    </main>
    <footer class="container mx-auto p-4 text-sm border-t flex justify-between items-center">
        <div>The Vinyl Shop - © {{ date('Y') }}</div>
        <div>Build with Laravel {{ app()->version() }}</div>
    </footer>
</div>
</body>
</html>
1
2
3
4
5
6
7
8
9
10
11
12
13
14
15
16
17
18
19
20
21
22
23
24
25
26
27
28
29
30
31
32
33
34
35
2
3
4
5
6
7
8
9
10
11
12
13
14
15
16
17
18
19
20
21
22
23
24
25
26
27
28
29
30
31
32
33
34
35
# Stack
- A stack can best be described as a 'reference' on the page where you can later add additional code
- A stack is especially useful to add page specific JavaScript to the code
- Just before the closing body tag, add a stack with the name
script
<html lang="en">
<head> ... </head>
<body>
  ...
  @stack('script')
</body>
</html>
1
2
3
4
5
6
7
2
3
4
5
6
7
# Link a page to the layout component
- A component will be rendered from a
<x-***> ... </x-***>element, where***refers to the component class name, written in kebab-case (class VinylshopLayout ...-><x-vinylshop-layout>) - Open the file resources/views/home.blade.php
# Default slot
- Wrap the content inside an
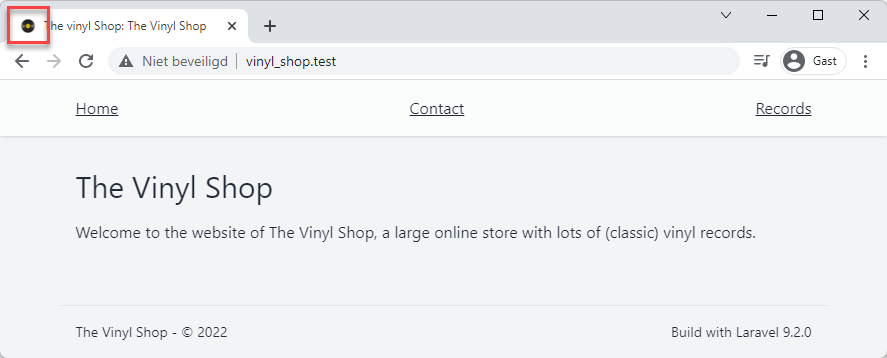
<x-vinylshop-layout> ... </x-vinylshop-layout>element - All content inside the
<x-vinylshop-layout>element will be rendered inside the default slot - Visit http://vinyl_shop.test (opens new window)
<x-vinylshop-layout>
    <h1>The Vinyl Shop</h1>

    <p>Welcome to the website of The Vinyl Shop, a large online store with lots of (classic) vinyl records.</p>
</x-vinylshop-layout>
1
2
3
4
5
2
3
4
5
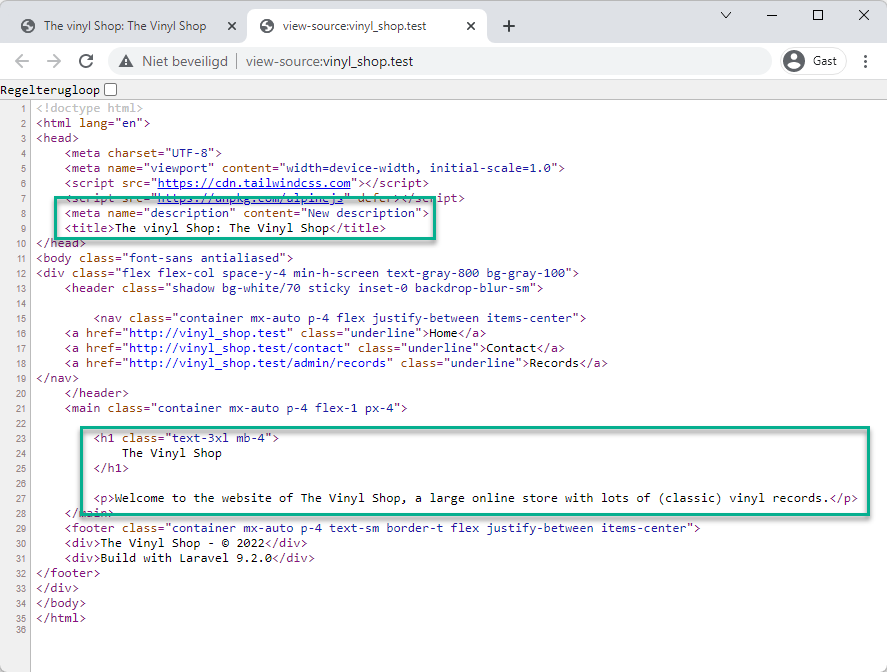
# Named slots
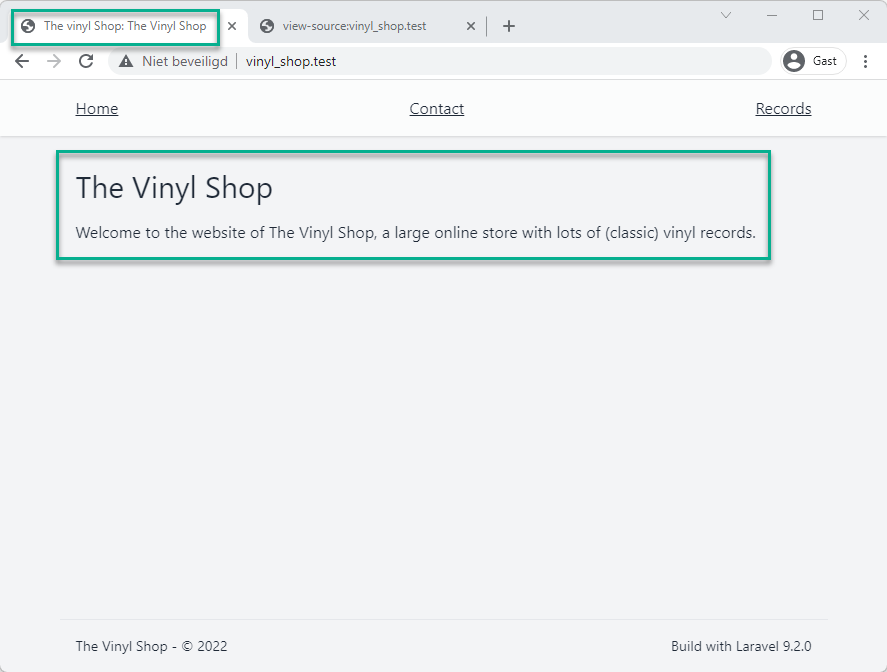
- Remove the h1 tag and move the text to the
titleslot - Update the description (
descriptionslot)
<x-vinylshop-layout>
    <x-slot name="description">New description</x-slot>
    <x-slot name="title">The Vinyl Shop</x-slot>

    <p>Welcome to the website of The Vinyl Shop, a large online store with lots of (classic) vinyl records.</p>
</x-vinylshop-layout>
1
2
3
4
5
6
2
3
4
5
6
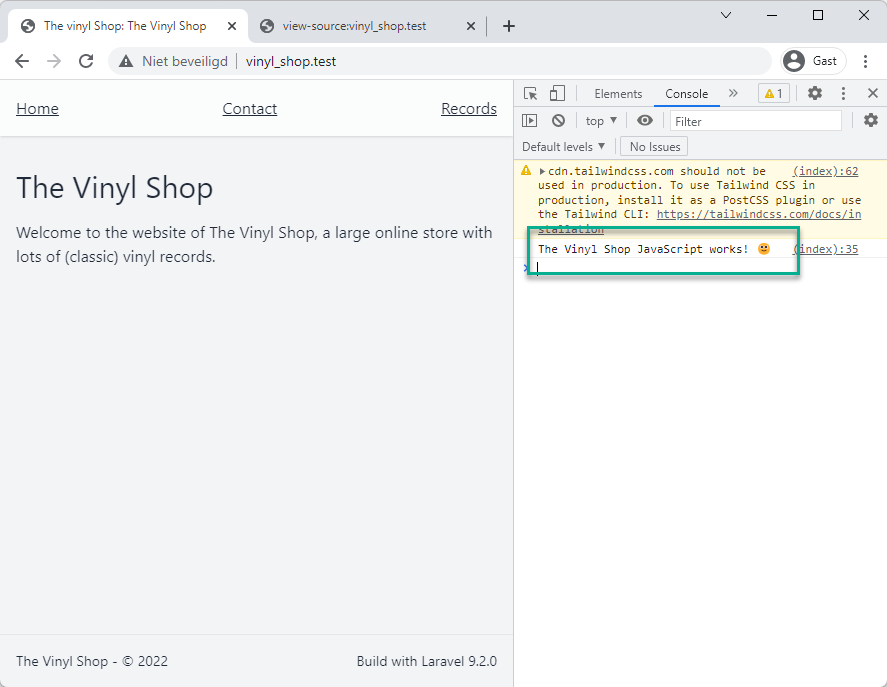
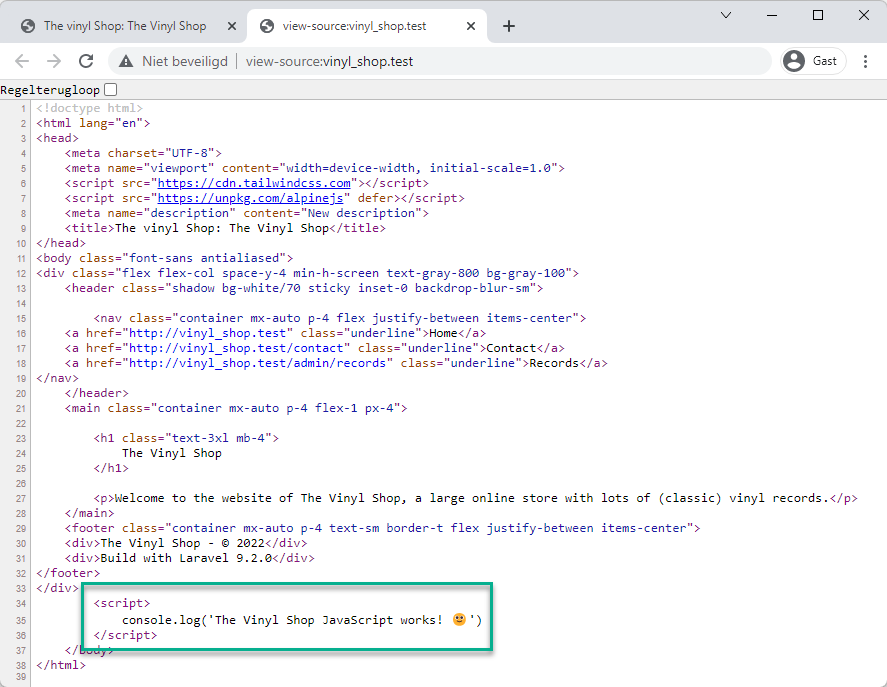
# Push to stack
- Push a simple JavaScript to the
scriptstack
<x-vinylshop-layout>
    <x-slot name="description">New description</x-slot>
    <x-slot name="title">The Vinyl Shop</x-slot>

    <p>Welcome to the website of The Vinyl Shop, a large online store with lots of (classic) vinyl records.</p>

    @push('script')
        <script>
            console.log('The Vinyl Shop JavaScript works! 🙂')
        </script>
    @endpush
</x-vinylshop-layout>
1
2
3
4
5
6
7
8
9
10
11
12
2
3
4
5
6
7
8
9
10
11
12
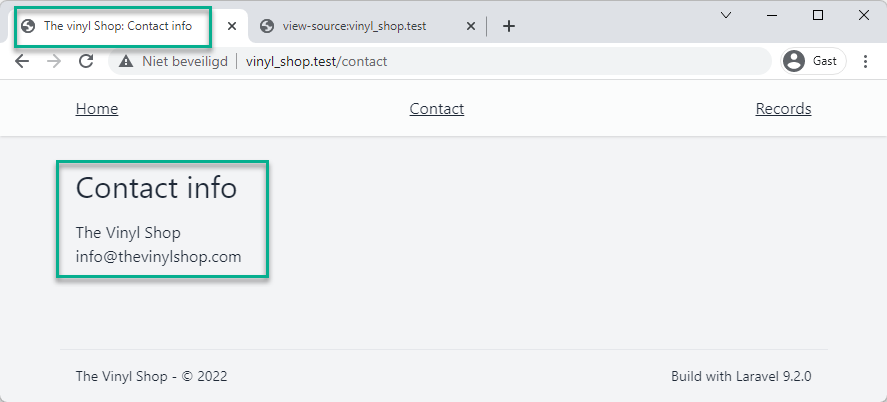
# EXERCISE 1: Refactor all pages
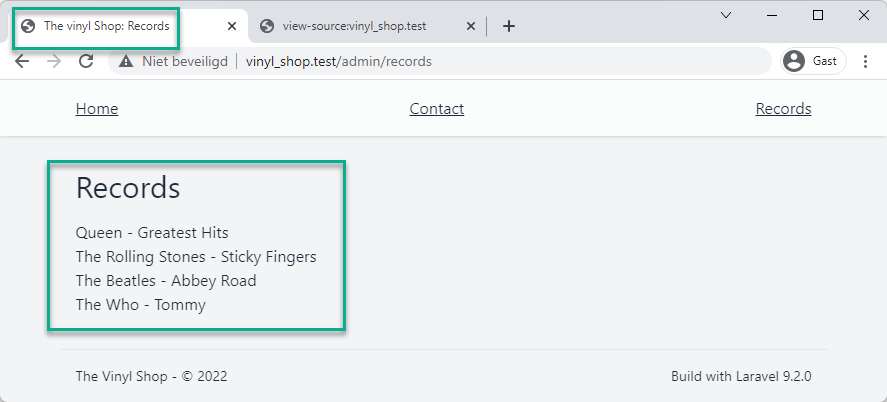
- Link the views contact.blade.php and admin/records/index.blade.php to the layout component
- Test your pages (http://vinyl_shop.test/contact (opens new window) and http://vinyl_shop.test/admin/records (opens new window)) in a browser
# Child components
- In order to not overload the template, it is best practice to place larger blocks of code (e.g. navigation, footer, ...) in separate components
- Create three new components:
- resources/views/components/layout/nav.blade.php
- resources/views/components/layout/footer.blade.php
- resources/views/components/layout/favicons.blade.php

# Navigation
- Move the entire navigation to the nav component
- Refer in the template to the nav component
# Footer
- Move the entire footer to the footer component
- Refer in the template to the footer component
# EXERCISE2: Favicons
- Add a real favicon (https://realfavicongenerator.net/ (opens new window)) to all the pages of your project
- Search for a suitable (opens new window) (and original) favicon picture and place the generated files in (a subfolder assets/icons in) the public folder
- Do not to overload the template and place the generated icon code in a separate component resources/views/components/layout/favicons.blade.php
- Watch the result in a browser by revisiting http://vinyl_shop.test/ (opens new window)